


About Traditional Foil Stamping
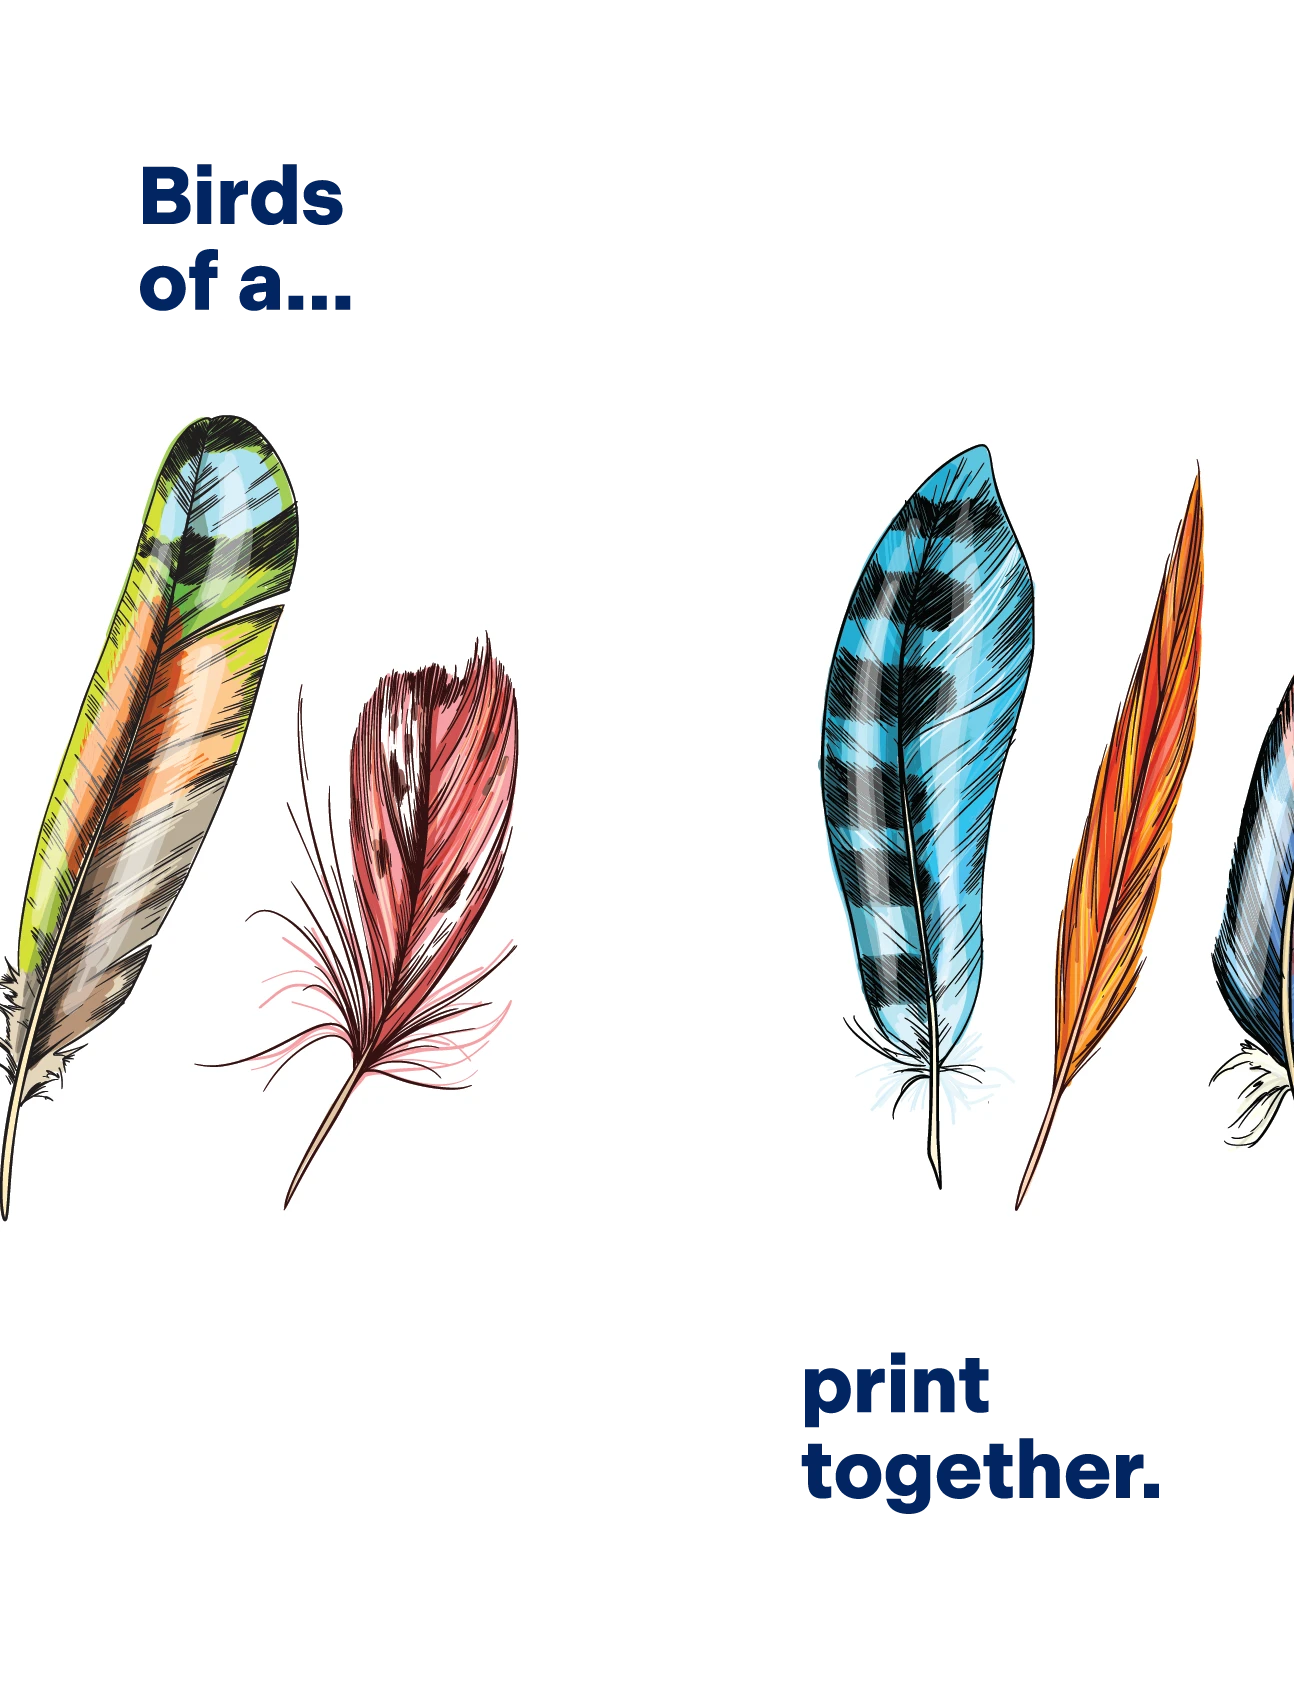
Traditional foil stamping uses heat, pressure, and metallic foil to create stunning, eye-catching effects. This greeting card showcases glitter holographic foil applied to a single feather element, creating an iridescent accent that shifts colors as viewing angles change.
The "Birds of a... print together" design demonstrates how traditional foil stamping can be combined with full-color CMYK printing to create premium greeting cards. The holographic foil adds a tactile, dimensional quality that digital printing alone cannot achieve.
This folded greeting card measures 4.25" x 5.5" (8.5" x 5.5" flat) and features printed front and back covers with a blank interior, ideal for personalized messages.
The layers build in a simple order: white card stock, then the full-color CMYK artwork, then the foil. The printed sheet goes to our foil stamper, where a heated, engraved metal die presses the foil onto the feather, directly on top of the printed background. The die carries the feather's shape, so the foil lands only where the engraving meets the sheet.
Why Hot Foil for a Holographic Accent?
The feather sits in the middle of a full-color design, and that placement decides the process. Our digital sleeking foil can't be laid directly on top of full-color print unless the sheet is first laminated with a printable soft touch laminate. Hot stamping has no such limit. Foil stamping places fine detail accurately, directly on top of a printed background, so the feather can sit right in the artwork on an unlaminated card.
Then there's the foil itself. Our digital foils come from a set list of colors, with rainbow holographic among them. Traditional foil draws on each foil manufacturer's library of colors and finishes, which opens the door to effects like this glitter holographic, with its textured sparkle.
Keeping the foil to a single accent also suits the process. Dies are priced by their size, so a small, focused foil element keeps the die modest while still giving the card its moment of shimmer.
Best Practices
- Foil placement: Position foil elements strategically for maximum impact. A single accent element often creates more visual interest than covering large areas.
- Holographic effects: Holographic foils show different colors at different angles. Consider how the piece will be viewed and handled.
- Glitter finish: Glitter holographic foil has a textured, sparkly appearance that adds depth and dimension to designs.
- Card stock selection: Heavier cover stocks (100# and up) work best for greeting cards with foil accents.
- Call out foil with 100% Magenta: Traditional foil doesn't use a spot color. Color the foil elements 100% Magenta as a process color, on their own layer, and production separates them to make the die. The Embossed Foil sample walks through the setup in Illustrator.
- Set foil to overprint: Turn on Overprint Fill for the foil elements so the CMYK artwork beneath them prints in full and the foil is stamped on top.
- One design per die: Every card in the run carries the same foil. Names, messages, or anything else that changes from card to card belongs in print.
- Allow time for specialty foils: Each foil in a manufacturer's library comes in several formulations. If you're after a finish we haven't run before, build in extra lead time for testing.