
About Embossed Foil
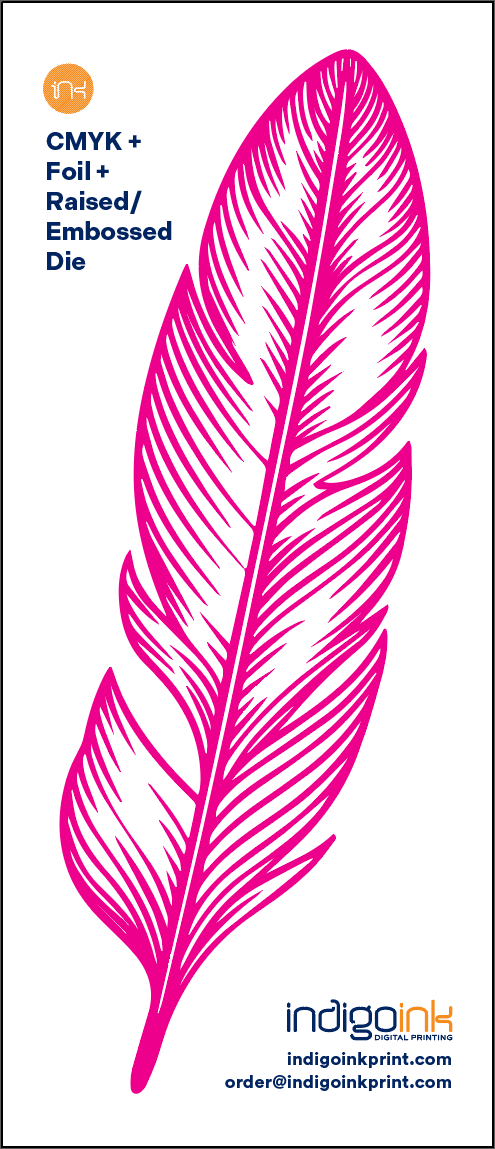
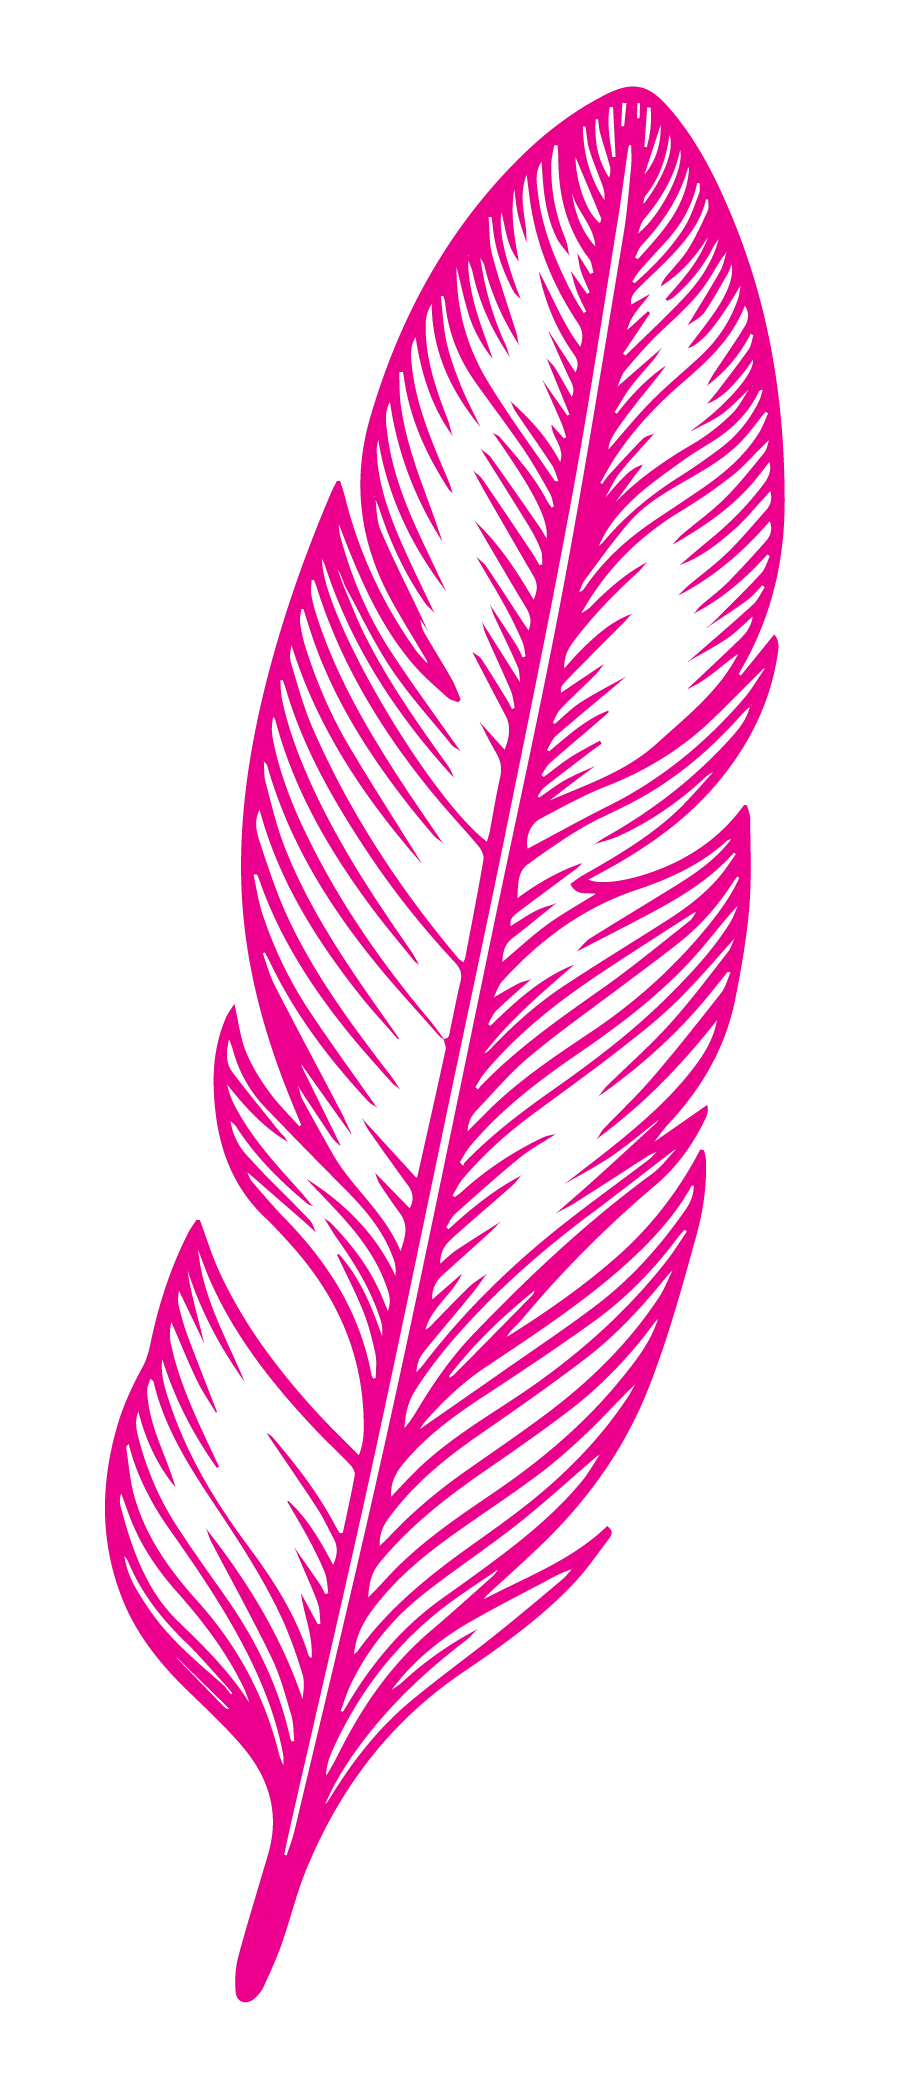
Traditional foil stamping with embossing creates a stunning raised relief effect on the paper surface. The copper emboss die layer shows the tooling used to press the foil into the substrate, creating tactile dimension that catches light and invites touch. Combined with full-color CMYK printing, this technique delivers premium results that stand out.
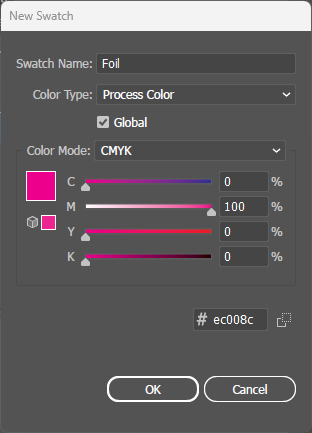
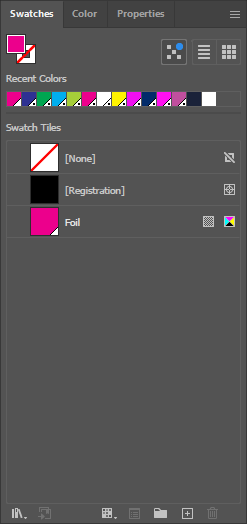
Unlike digital HP Indigo foil which uses spot colors, traditional foil uses a simple 100% Magenta callout to identify foil areas. Project managers then separate the foil and CMYK elements and create the die file for production.
The die is the heart of the process. Hot stamping squeezes a roll of foil between a heated, engraved metal die and the sheet, and the foil transfers in the shape of the engraving. Dies can be magnesium, copper or brass, milled by machine or chemically etched. We choose the material from the design and production details, so that's one decision you don't have to make. Configured for embossing, the same die raises the foil above the paper, and our stamper has the muscle for it: up to 20 tons of force, at up to 5,000 cycles an hour.
Why Hot Stamping?
Most of the foil in this set is digital sleeking foil, so you might wonder why this feather goes back to a process a German bookbinder invented in 1892. The short answer: some effects only a die can make.
Three things set hot stamping apart. First, the finish. A die can emboss or deboss as it foils, and that raised relief is something flat sleeking foil can't give you. Second, registration. Sleeking foil goes down on the press between print passes, and paper shrinks as it's heated, so foil and print can drift up to a millimeter apart. A stamped foil is placed directly on the finished print, which is why we move most tight-registration foil jobs to our stamper. Third, range. Stamping holds extremely fine detail, offers almost endless foil colors and stocks, and works on envelopes and other materials sleeking can't handle.
The trade-off is the die itself. There can only be one design per die, so hot stamping can't do variable data, and die pricing follows the die's size, which is hard to justify on very small runs. Our press takes dies up to slightly more than 10 by 13 inches; larger ones need extra lead time, and so does a foil we haven't tried before. If your foil is spread across the sheet, ask us about splitting it into a few smaller dies we can run together. For short runs or a different name on every card, digital foil is our recommendation. When you want foil you can feel, reach for the die.
Best Practices
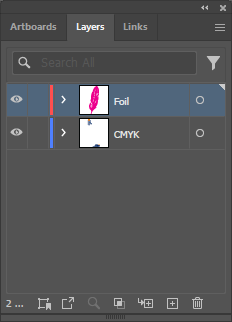
- Layer organization: Keep CMYK artwork and foil elements on separate layers. This makes it easier for production to split the file.
- Foil callout: Color all foil elements with 100% Magenta. This is NOT a spot color - it simply identifies which elements will be foil-stamped.
- Overprint enabled: Foil elements should have Overprint Fill enabled so they can be stamped directly on top of CMYK artwork.
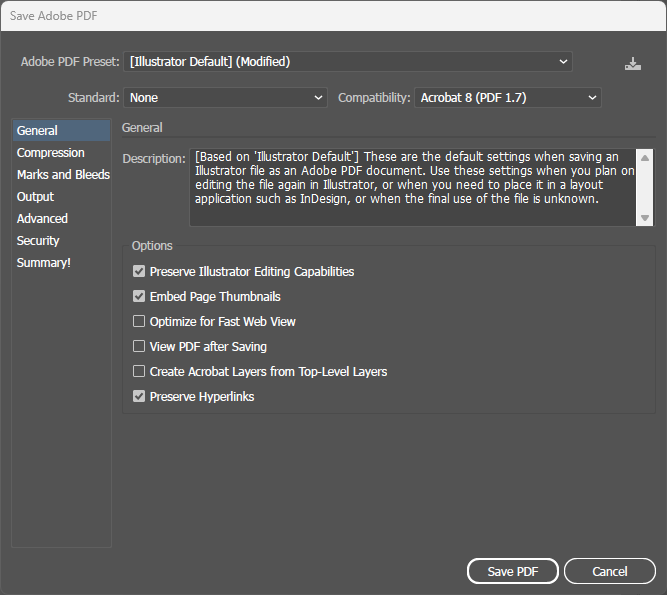
- PDF export: When saving to PDF, enable "Preserve Illustrator Editing Capabilities" so production can access layers for die creation.