
About White Ink
White ink enables printing on colored and dark substrates where traditional CMYK would be invisible or muted. HP Indigo's ElectroInk White builds full opacity in a single trip through the press, creating stunning contrast against colored papers.
Unlike screen printing white, HP Indigo white ink can be applied with photographic precision - no minimum line weights, no registration issues, and full variable data capability.
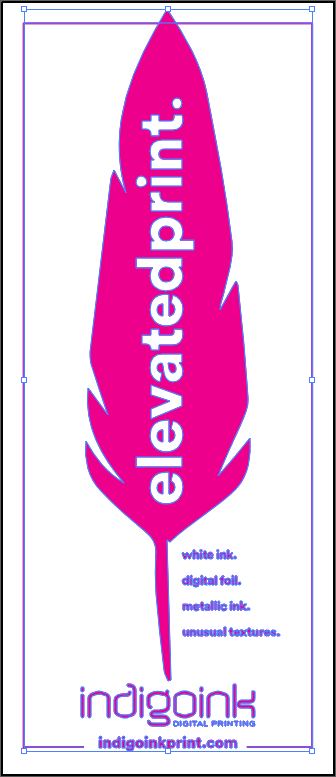
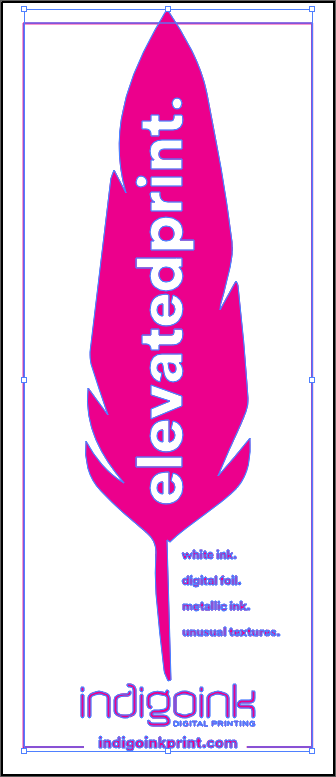
White ink is made of titanium dioxide, the same bright, durable pigment you'll find in paint, cosmetics and sunscreen. On the HP Indigo, gripper blades hold the sheet on the impression drum while ink is transferred, so the press can lay down layer after layer before letting go. One layer of white won't look truly white, so we hit HP White 1 four times for the crisp, opaque finish you see on this feather.
Why White Ink?
If all you want is white, you might ask why we don't print on white paper and let the sheet do the work. Because this feather is really about the paper: white ink turns a colored or dark stock into part of the design.
We reach for it for three reasons. First, the stock becomes a color. Wherever the ink isn't, the paper's own hue fills in, in shades no ink mix can reach and with an evenness printed color can't match. Second, it opens up darker stocks with a better feel in the hand, textures that once meant silkscreen or an expensive offset run and are now within budget. Third, it catches the light. The stacked layers of white carry a sheen against the matte paper, and transparent foil can push that into a true gloss-on-matte effect.
It isn't a fit for every sheet. The Indigo doesn't run on just any paper: the stock needs to be Indigo-certified or primed so the ink adheres, and priming by hand isn't a guaranteed success. If you have your heart set on Colorplan, check whether your color comes in an Indigo-certified "i-Tone" version. Whatever the stock, ask us before you buy it. We've seen just about every issue imaginable, and we're happy to give our opinion.
Best Practices
- Substrate selection: Choose uncoated colored papers for best ink adhesion. Darker colors provide the most dramatic contrast.
- Ink coverage: We hit HP White 1 four times for full opacity. The hits are additive, so a 10% tint prints closer to 40%; for precise opacity levels, see the White Opacity feather.
- Design considerations: White ink works best for solid shapes and bold typography. Fine details may require additional ink coverage.
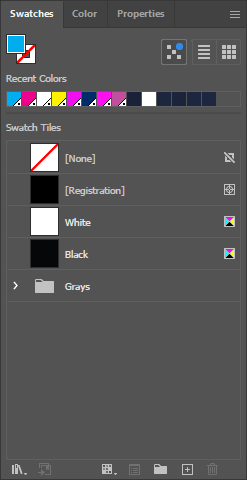
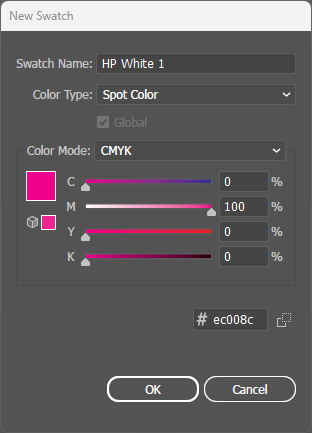
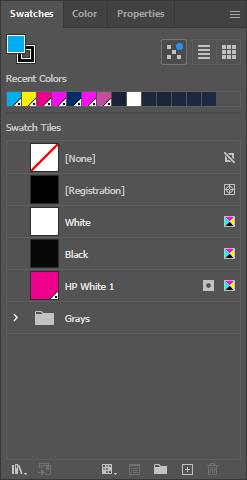
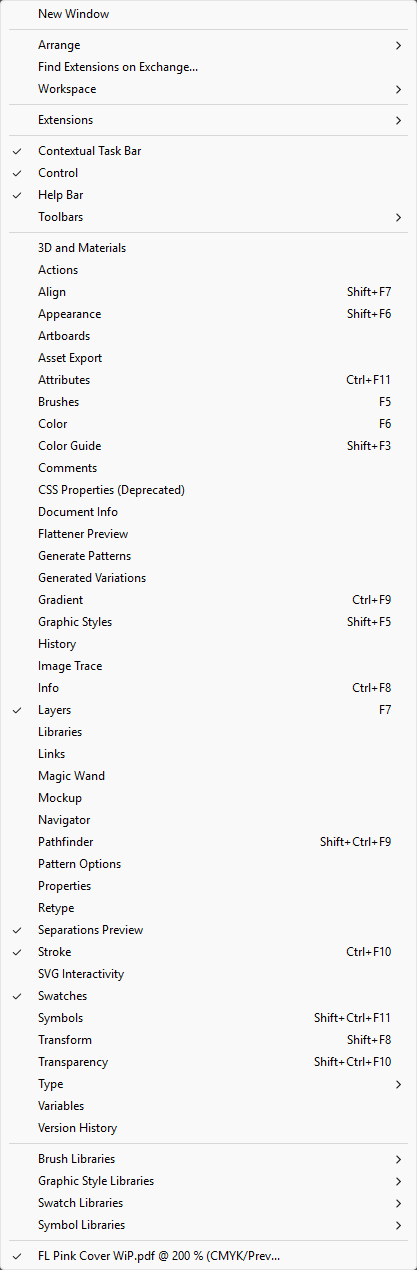
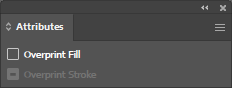
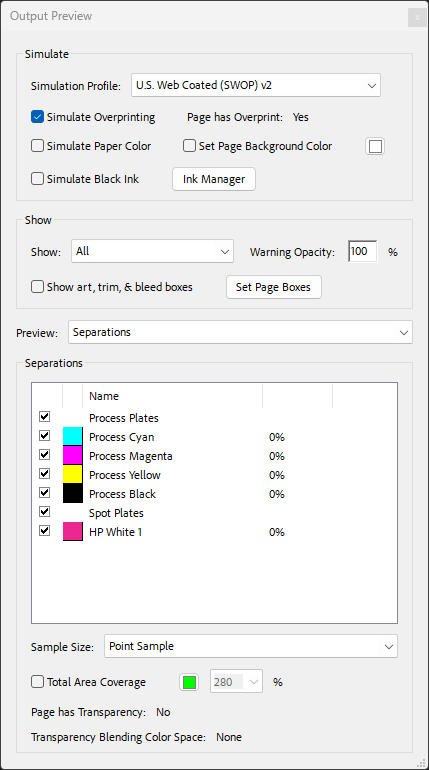
- File setup: Create white ink as a spot color named exactly "HP White 1" for the press to recognize it.