

About Fluorescent Pink Ink
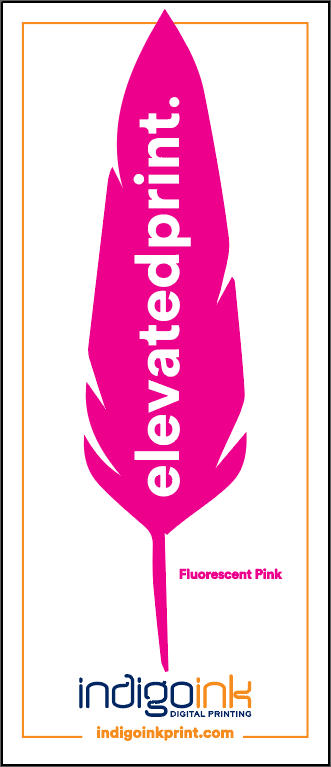
Fluorescent Pink (FL Pink) ink extends the printable color gamut far beyond what standard CMYK can achieve. This specialty ink creates vibrant, eye-catching pinks and magentas that truly pop off the page with an almost neon intensity.
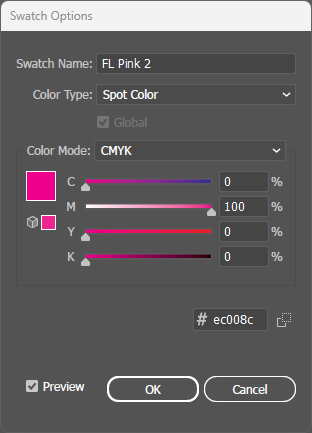
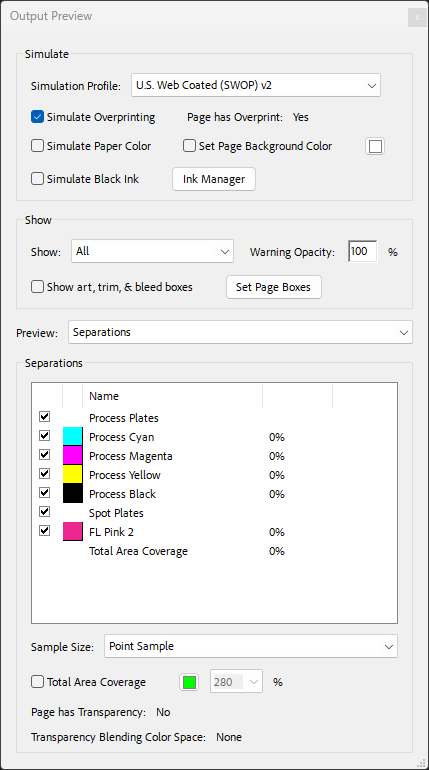
The "2" suffix in "FL Pink 2" is critical - it instructs the HP Indigo press to apply a double hit of ink at 100% coverage. This double application ensures maximum vibrancy and opacity, creating the intense fluorescent effect the ink is known for.
Fluorescent ink bends the usual rules of print. Ordinary ink works as a filter: it absorbs light and reflects what's left, which is why a print is always less vivid than your screen. Fluorescent pigments also absorb invisible ultraviolet light and give it back as visible light, adding brightness instead of only taking it away. Under a black light, the same pink glows a deep red.
Why Fluorescent Pink?
CMYK already has a magenta, so you might wonder why we'd add a pink. Because bright pink is exactly where four-color printing runs out of road.
Pastel pinks are easy in CMYK. Push for brightness, though, and you have to raise the magenta density, and a dense magenta leans red or mauve, keeping fuchsia just out of reach. FL Pink 2 gets there. Because the ink is intentionally translucent, it takes two hits at 100% to reach full strength: you design at 100%, and we print at 200%. It also works on any substrate we offer and plays well with foil, white ink, metallic ink and lamination.
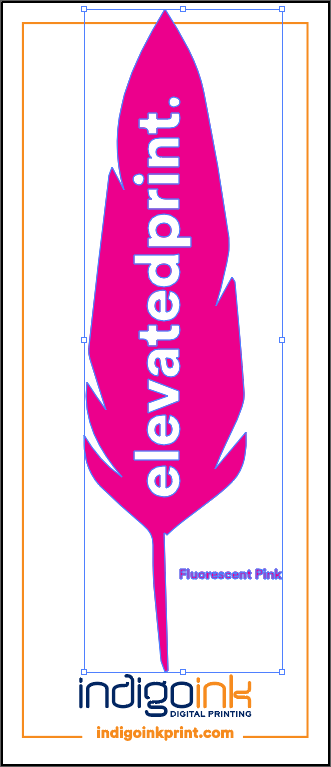
The honest caveat is proofing. Your monitor can't show you what fluorescent pink looks like, and neither can a photo or a digital proof, so if the exact color matters, invest in a hard copy proof. Paper matters too: the brighter the white, the stronger the effect, and ink on white paper is much more striking than ink on a white ink base (compare the cobalt blue feather). Budget a little more than for standard CMYK; fluorescent pink sits between white ink and our ColorUp process in cost.
Best Practices
-
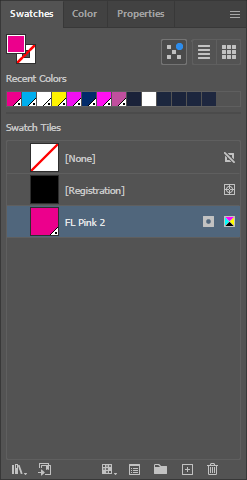
Spot color naming is critical: The name must be exactly
FL Pink 2- the "2" suffix tells the press to double-hit the ink for maximum intensity. - Always use 100% coverage: FL Pink 2 should always be applied at 100% for optimal fluorescent effect. Tints will appear washed out.
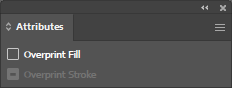
- Overprint is required: FL Pink 2 must have Overprint Fill enabled in the Attributes panel for proper layering with CMYK.
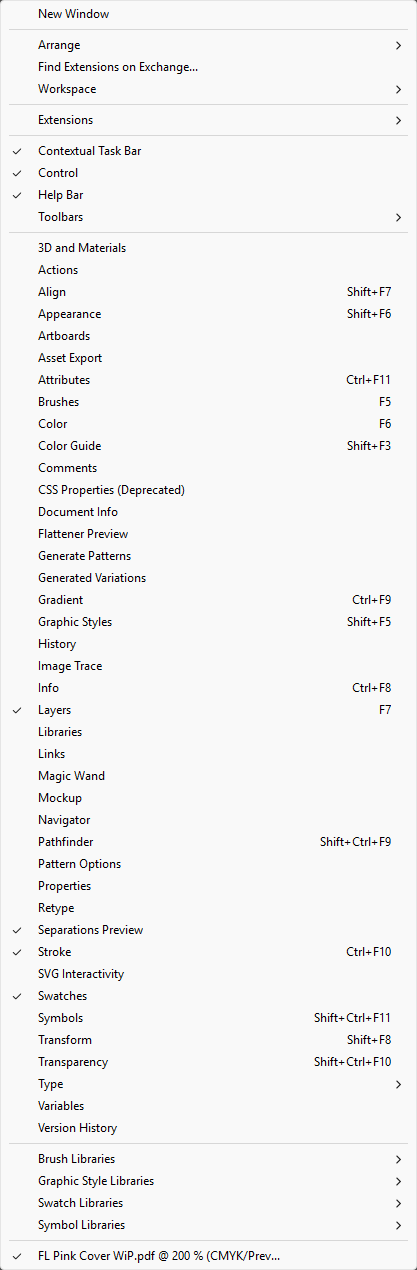
- Layer order matters: FL Pink 2 layer should be above CMYK in Illustrator's Layers panel (spot colors print on top of process colors).