
About Digital Foil
Digital foil stamping creates stunning metallic effects with precision detail. Unlike traditional foil stamping which requires custom dies, HP Indigo's digital foil process enables foil effects on variable data and short runs with no setup costs.
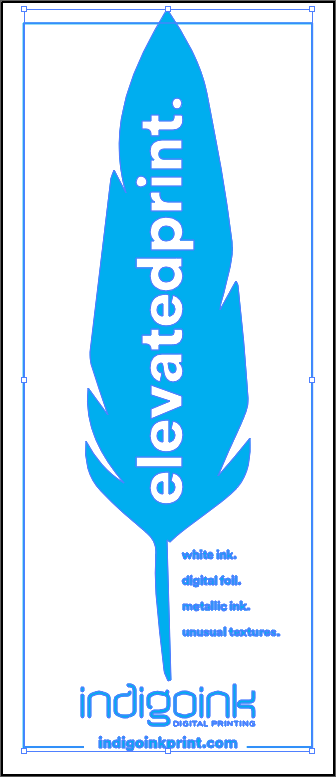
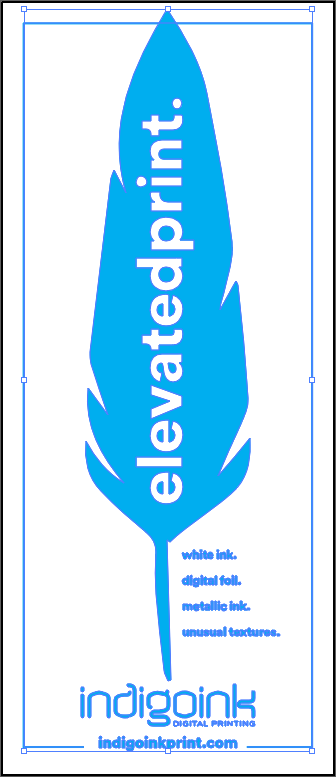
This sample showcases blue foil applied directly to a silk-coated substrate, demonstrating the clean, crisp edges achievable with digital foiling technology. The foil layer provides a brilliant metallic finish that catches light beautifully.
Sleeking foil works because foil sticks to ink. The press first prints the design in black toner as a template, then the sheet runs through a modified laminator, where the foil bonds to that toner. If we can print it, we can foil it: borders, full-bleed elements, and a different design on every sheet.
Why Foil Alone?
One color of foil on a plain sheet might look like the simplest sample in the set. It's also one of the most deliberate: with nothing else printed, the foil has the page to itself.
It works for three reasons. First, every foil color is on the table. Once CMYK has to print over the foil, only our printable silver and gold will do; on its own, blue is as easy as gold. Second, there's nothing to line up. Paper shrinks a little every time it's heated, so print added after the foil can shift by up to a millimeter. Take the extra print away and the registration problem goes with it. Third, it suits the pieces people keep: special events, art prints and other statement pieces.
The stock still matters. This feather runs on a silk-coated cover, near the reliable end of our substrate range, though even coated stocks need watching for background noise, where stray foil sticks to the sheet as tiny specks. Heavy foil floods on uncoated paper are very hard to get consistently right, and even a pinprick of missing foil shows. Keep lines at least 1pt thick, favor curves over sharp points, and if the foil is the whole design, choose a smooth coated sheet or printable laminate.
Best Practices
- Design for foil: Foil works best with solid shapes and bold typography. Very fine lines or small text may not foil cleanly.
- Substrate selection: Smooth, coated papers provide the cleanest foil adhesion. Textured or uncoated papers may show inconsistent coverage.
- Color interaction: Consider how the foil color interacts with your substrate. Blue foil on white paper creates a different effect than on colored paper.
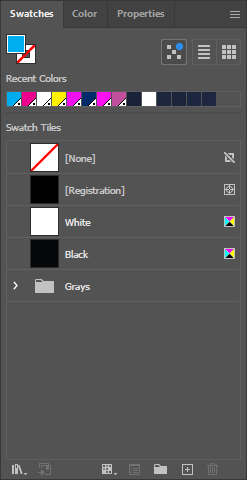
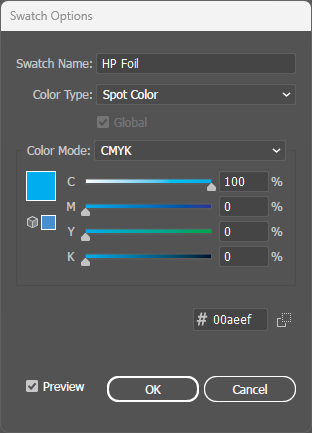
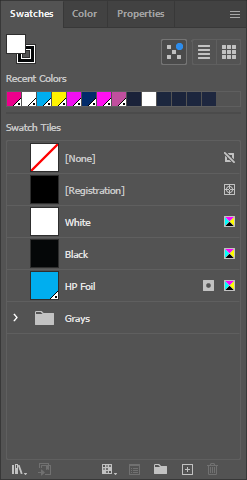
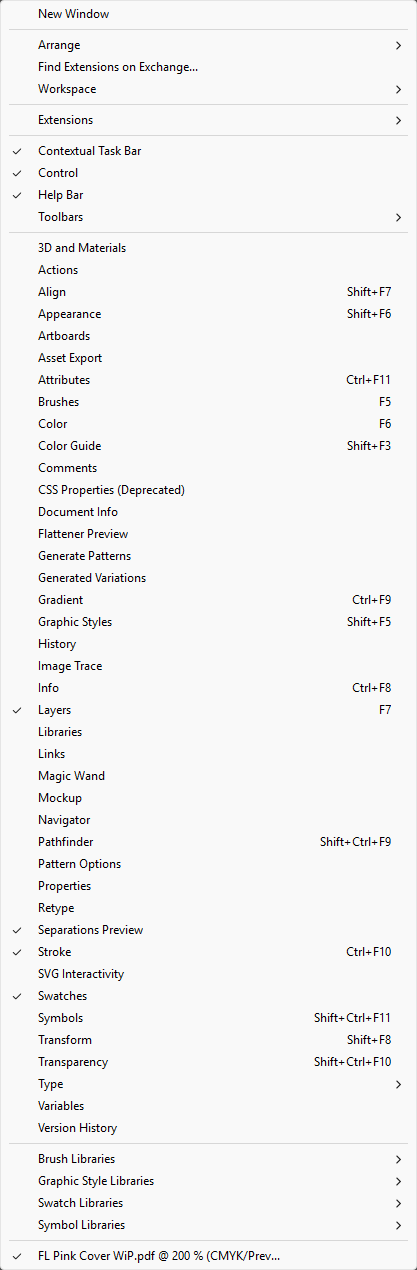
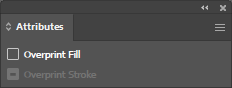
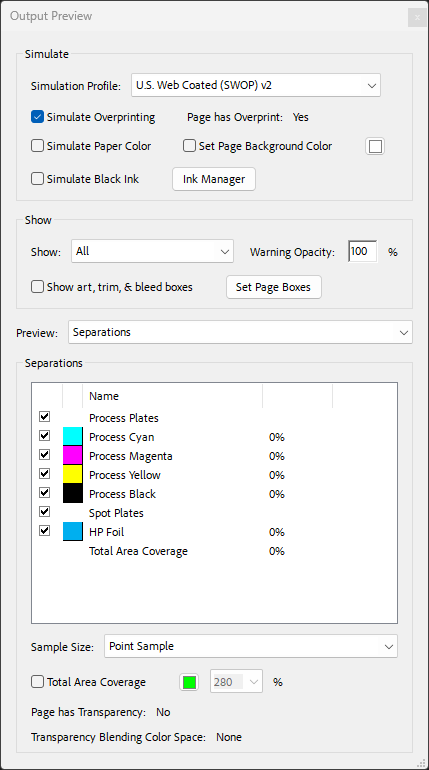
- File setup: Create foil areas as a spot color named exactly "HP Foil" for the press to recognize it.
File Setup
Digital Sleeking Foil Colors
Click any swatch to see a detailed sample. Our digital sleeking foil adheres to HP Indigo toner, enabling custom foil designs without costly engraved plates.