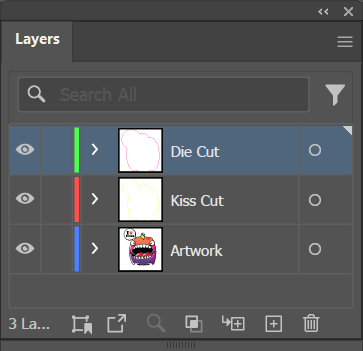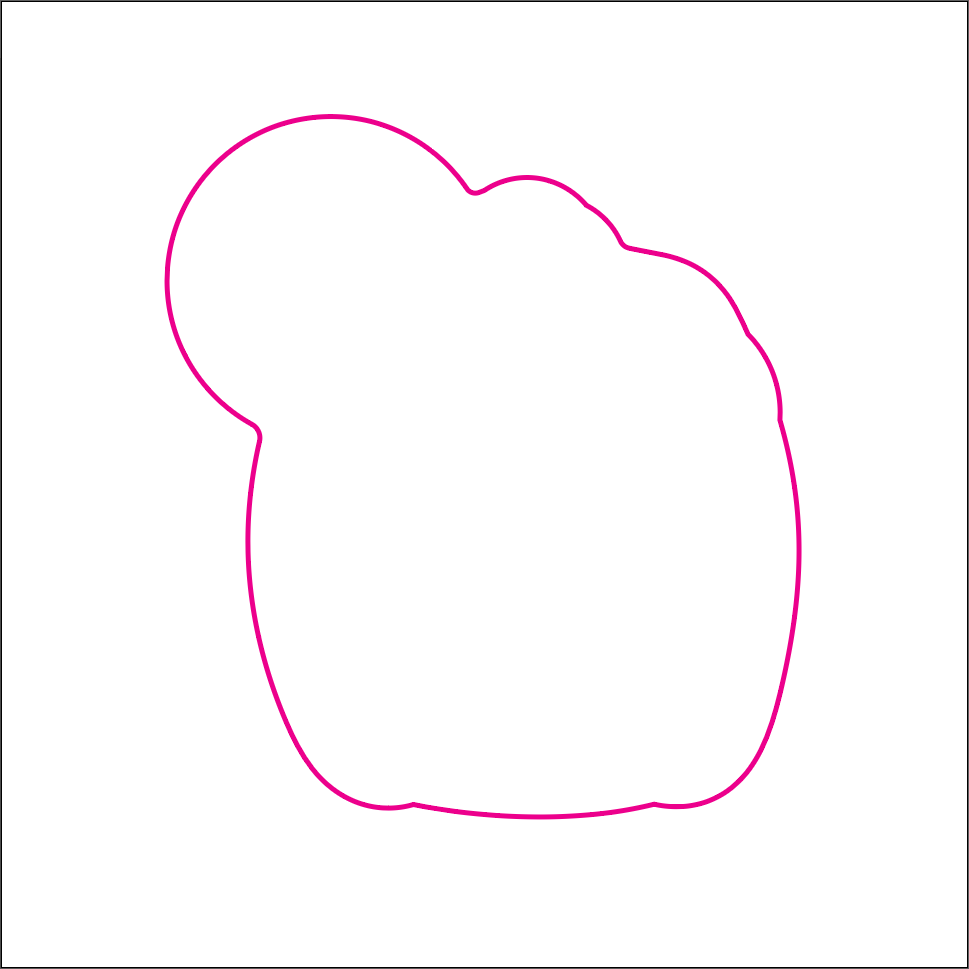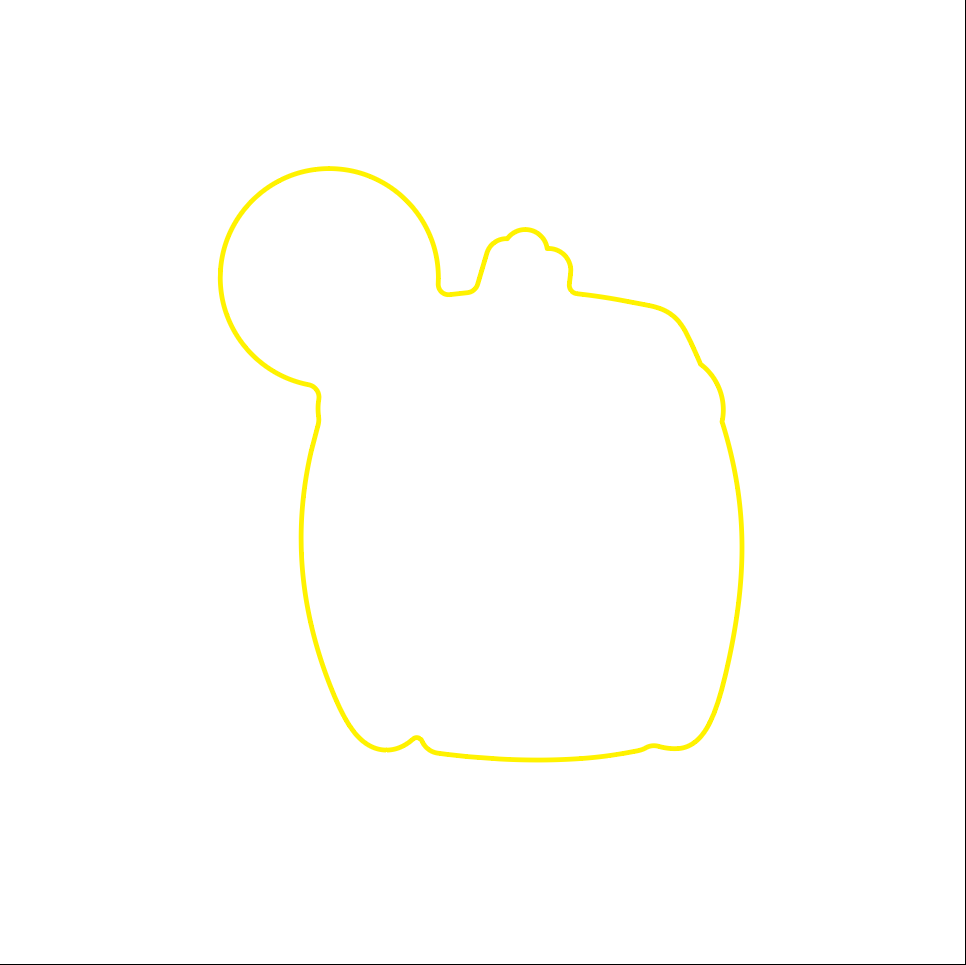
About Die-Cutting & Kiss-Cutting
This demonstration shows the difference between two levels of cutting used in sticker production. Die-cutting cuts completely through all layers including the backing paper, defining the final shape of the sticker sheet. Kiss-cutting cuts through only the top layers (vinyl, print, and coating) while leaving the backing paper intact.
Kiss-cutting allows the sticker to be easily peeled from the backing for application, while the backing paper provides support during handling and storage. Notice how the backing paper extends beyond the kiss-cut line—this area remains after the sticker is peeled away.
The complex organic shape shown here demonstrates how both die-cutting and kiss-cutting can follow intricate contours, creating unique custom sticker shapes that stand out.
Two cut types, two purposes: The die-cut defines the overall sheet shape (for trimming), while the kiss-cut creates the peel-and-stick boundary. Both cuts can follow complex organic contours using digital cutting technology.
Best Practices
- Kiss-cut must be inside die-cut: The peelable sticker boundary must fall entirely within the sheet's trim edge, with adequate margin (at least 0.125").
-
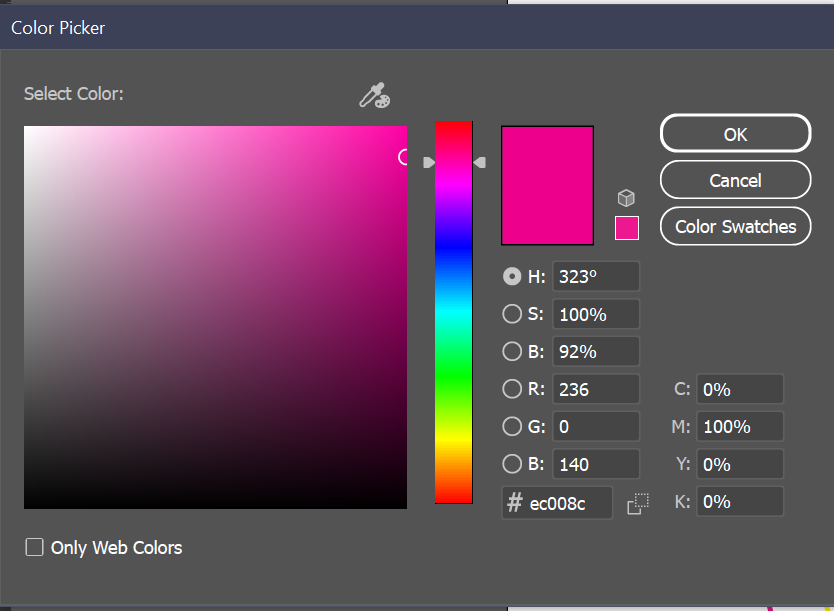
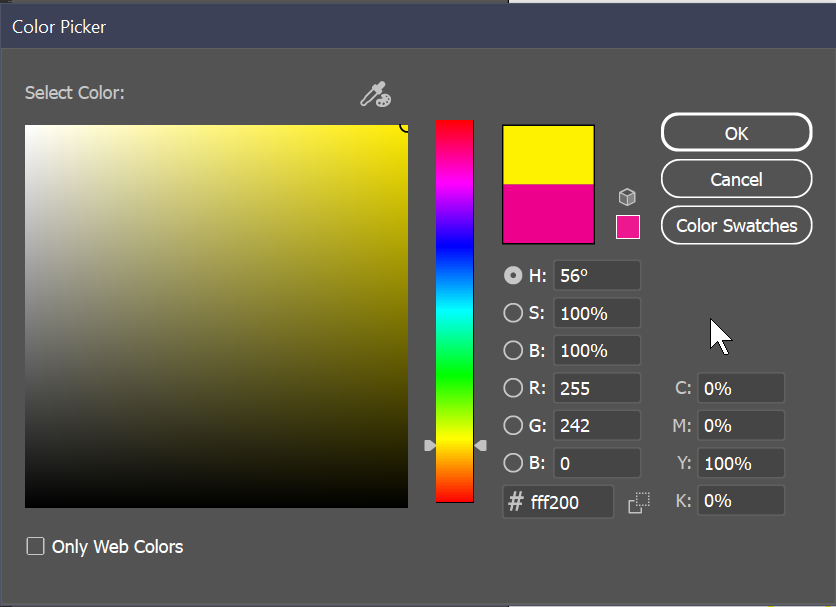
Use designated colors for cut lines: Die-cut paths use
100% Magenta, kiss-cut paths use100% Yellow. These colors signal the cutting software. - Stroke weight matters: Check with your print vendor for required stroke weight on cut lines (commonly 0.25pt-0.5pt).
- Don't apply overprint: Unlike ink layers, cut lines should NOT have Overprint Fill/Stroke enabled. They should knock out, not overlap.
- Avoid sharp inside corners: Cutting blades have a minimum turning radius. Use rounded corners (0.5mm+) on tight interior details.
- Include registration marks: If die-cut and kiss-cut are on separate layers, ensure proper registration between print and cut operations.
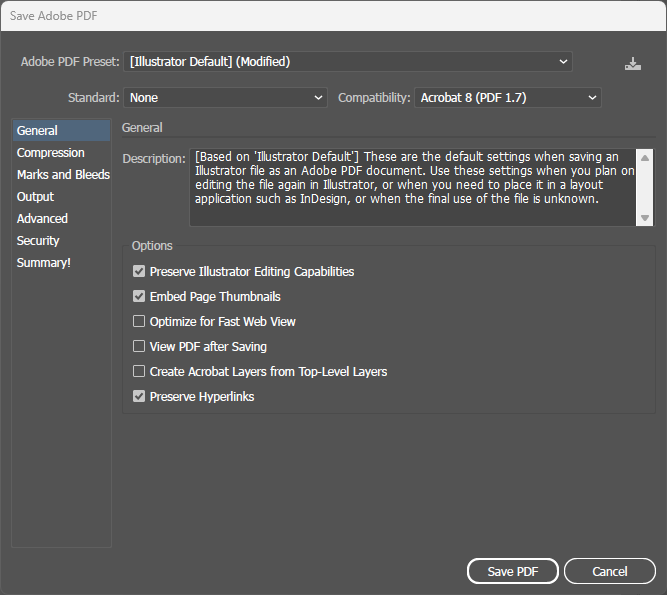
File Setup
Step-by-step instructions for setting up die-cut and kiss-cut lines in Illustrator.