


About White Ink Opacity Variations
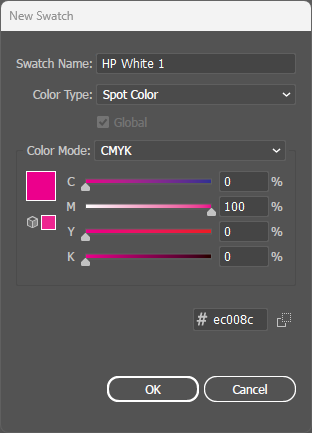
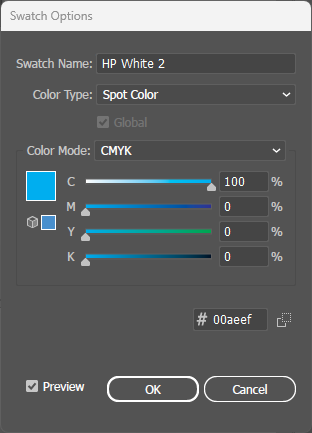
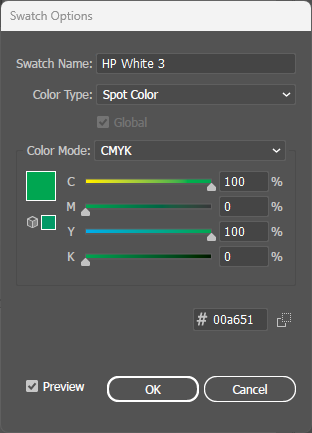
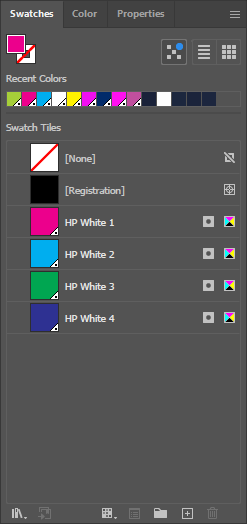
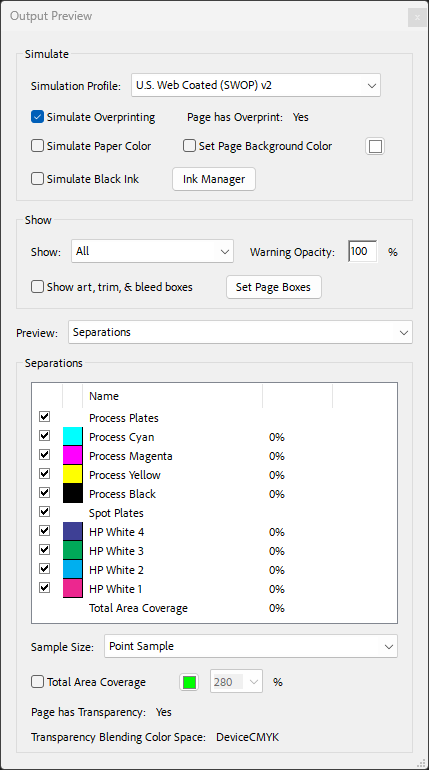
While basic white ink printing uses a single pass (HP White 1), the HP Indigo press supports up to four white ink channels: HP White 1, 2, 3, and 4. Each channel can carry any opacity value from 0-100% at each pixel, and the coverage is additive across all layers.
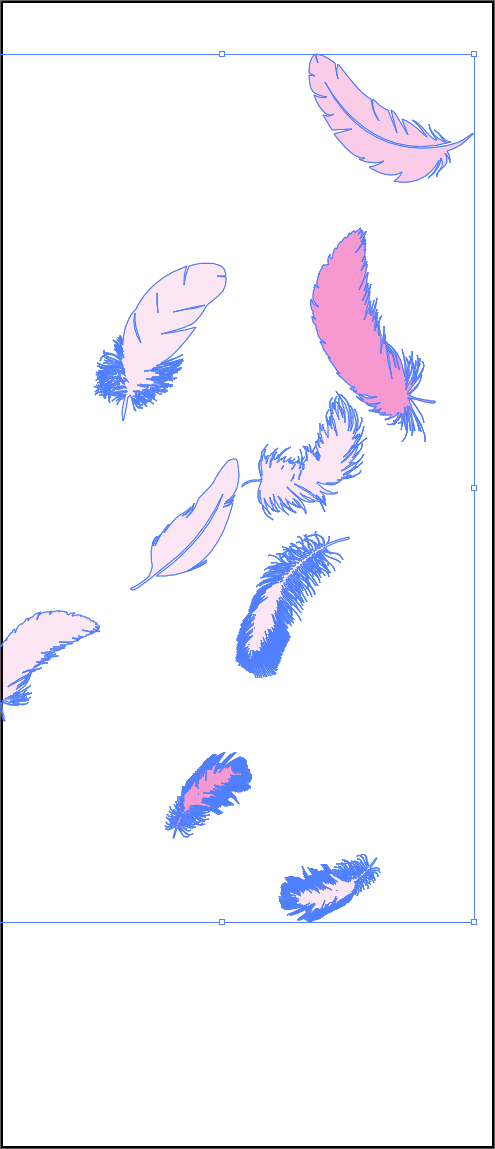
This means designers can achieve any total coverage from 0% to 400%. For example, 180% coverage could be achieved with HP White 1 at 100% plus HP White 2 at 80%, or any other combination that adds up to the desired value.
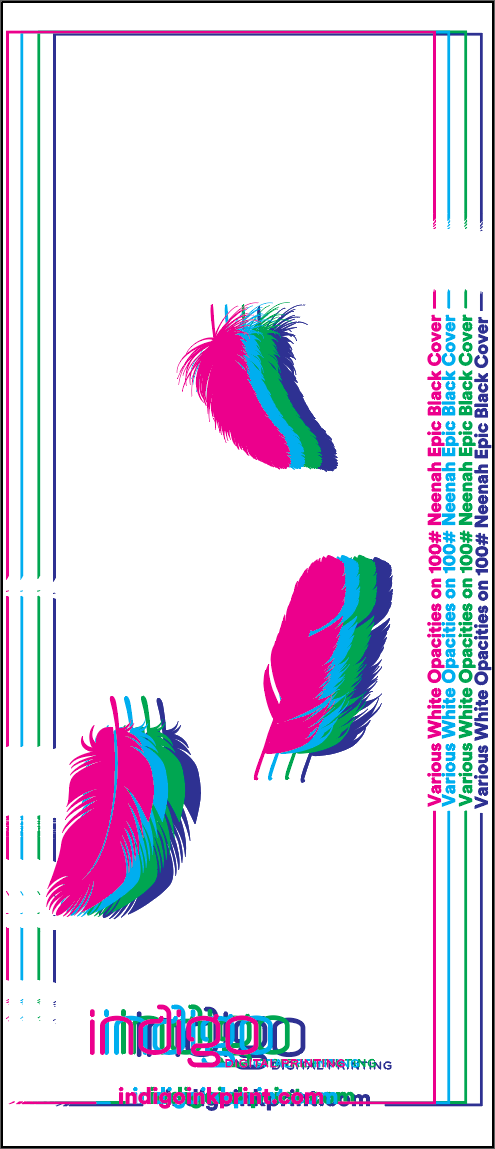
This technique enables smooth gradients, photographic tones, and precise opacity control on dark substrates—effects impossible with single-pass white ink.
Best Practices
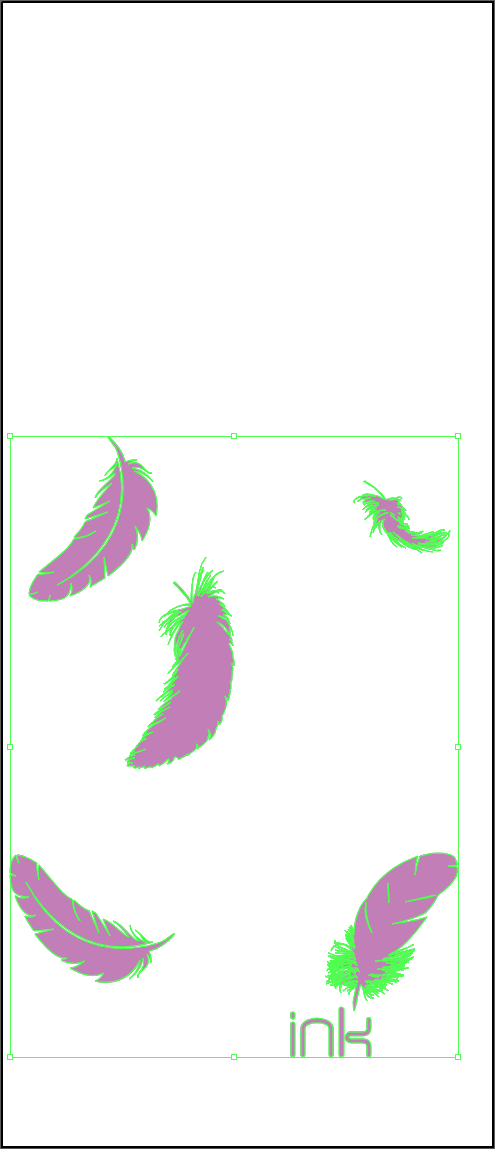
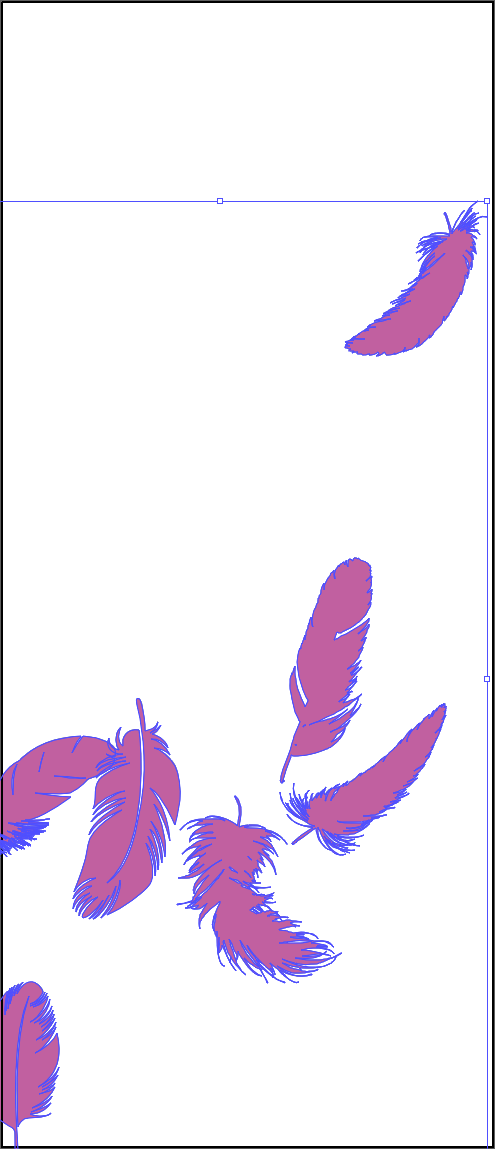
- Artwork organization: Group artwork elements by their target opacity level before applying spot colors. This makes file management easier.
- Layer distribution: Use fewer layers with higher values for simpler files, or more layers with lower values for smoother gradients.
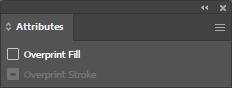
- Overprint required: All four HP White spot colors must have Overprint Fill enabled in the Attributes panel. Without overprint, white ink areas will knock out underlying layers.
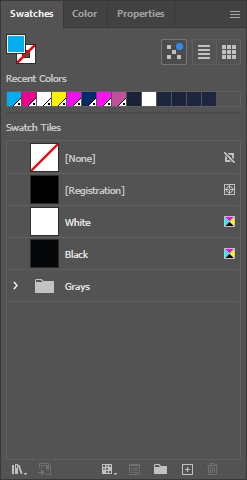
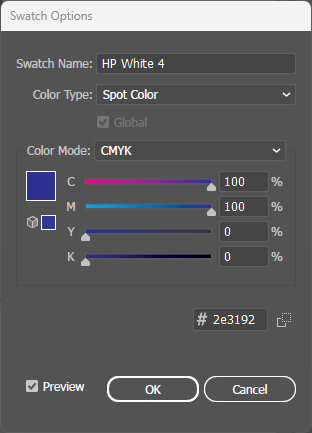
- Naming convention: Spot colors must be named exactly "HP White 1", "HP White 2", "HP White 3", and "HP White 4" (case-sensitive) for the press to recognize them.
File Setup
Interactive Demo
Hover over the artwork to see real-time pixel-level coverage readings for each HP White layer (0-400% total).