
About FL Pink on Colored Stock
Printing fluorescent pink on colored stock presents a unique challenge. Without a white ink base layer, the cobalt blue substrate would show through and dramatically alter the appearance of the FL Pink 2 ink, resulting in a muddy, desaturated color.
The solution is a two-layer approach: HP White 1 prints first, creating an opaque white foundation. FL Pink 2 then prints on top of this sealed surface, achieving the same brilliant, eye-catching fluorescent pink you'd expect on white paper.
Best Practices
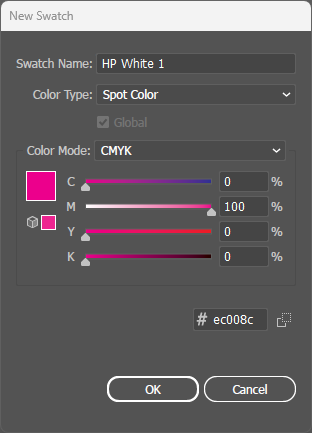
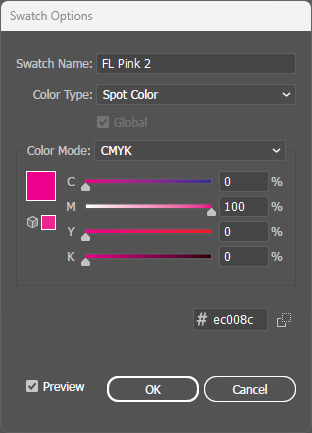
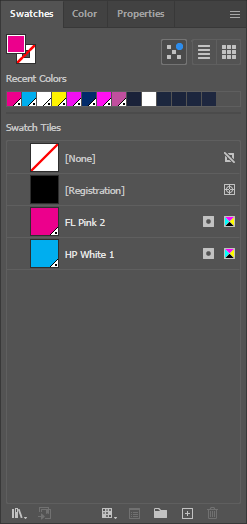
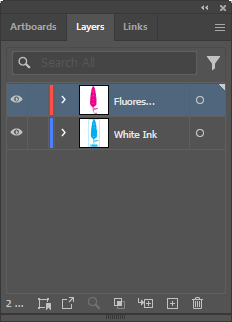
- Two spot colors required: This technique uses HP White 1 (base) and FL Pink 2 (top). Both must be created as separate spot colors.
- White ink coverage: The HP White 1 layer should match or slightly exceed the FL Pink 2 coverage area to ensure complete opacity.
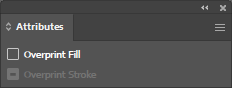
- Overprint both spot colors: Critical! Both HP White 1 AND FL Pink 2 must have Overprint Fill enabled in the Attributes panel.
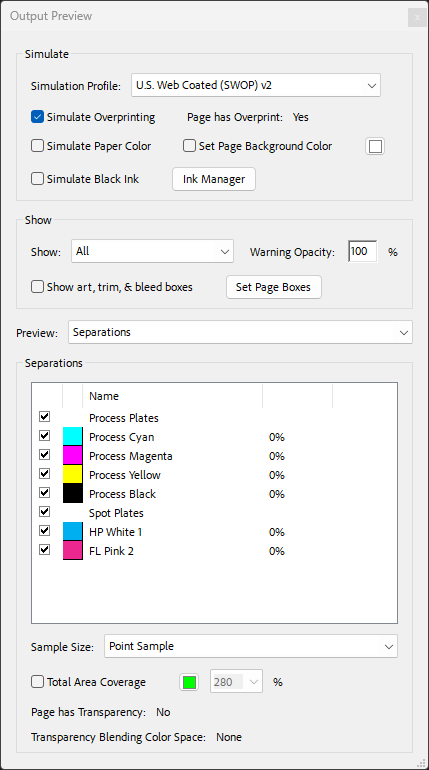
- Verify separations: In PDF Output Preview, confirm you see both HP White 1 and FL Pink 2 listed under Spot Plates alongside CMYK.